RTH Forum Tutorial
How to Seal a Rock or Cabochon Fracture With Opticon
By RTH Member: bobby1
Posted: Feb 27, 2008 at 9:27pm
This is the method that I use to seal fractures in slabs or on finished cabs. In general the more heat used (within reason) the better penetration and hardening will occur.
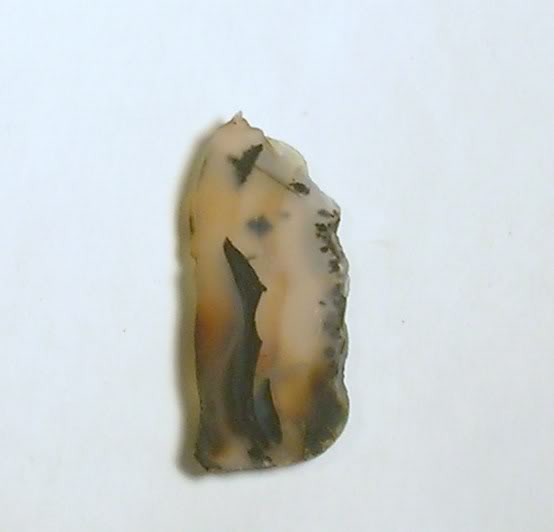
1. Here is the slab that I chose for the demonstration. I could have used a completed cab.
The cabochon or slab must be cleaned very thoroughly before starting the process. I use a mixture of liquid dish detergent and ammonia in an ultrasonic cleaner; however, if you don’t have one, manual scrubbing will also work. Be sure that the saw oil is all removed. Wipe the slab or cabochon with denatured alcohol and avoid handling them as much as possible.
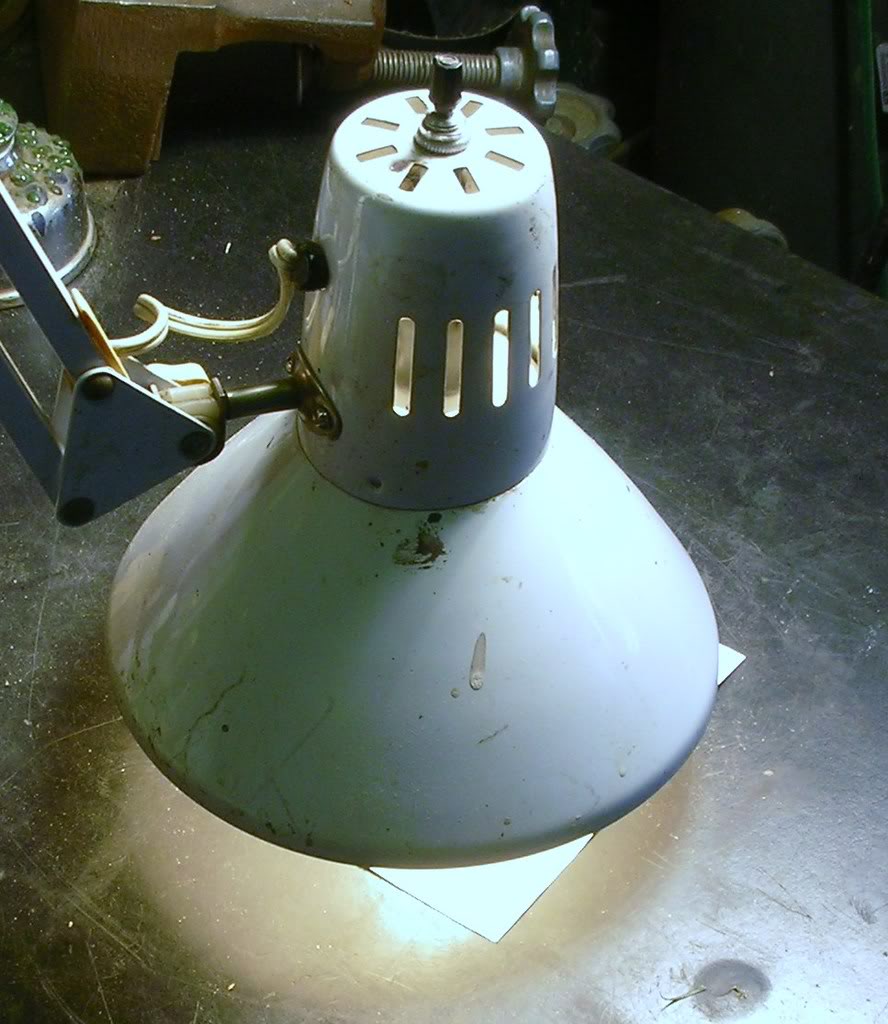
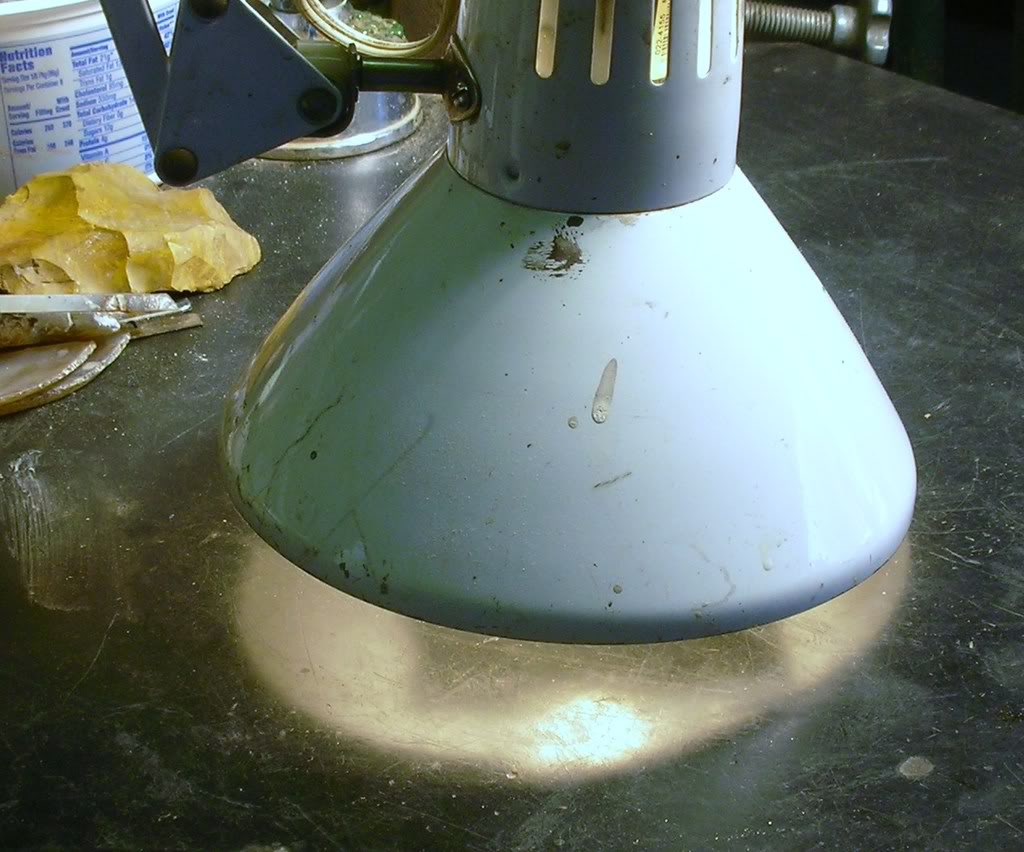
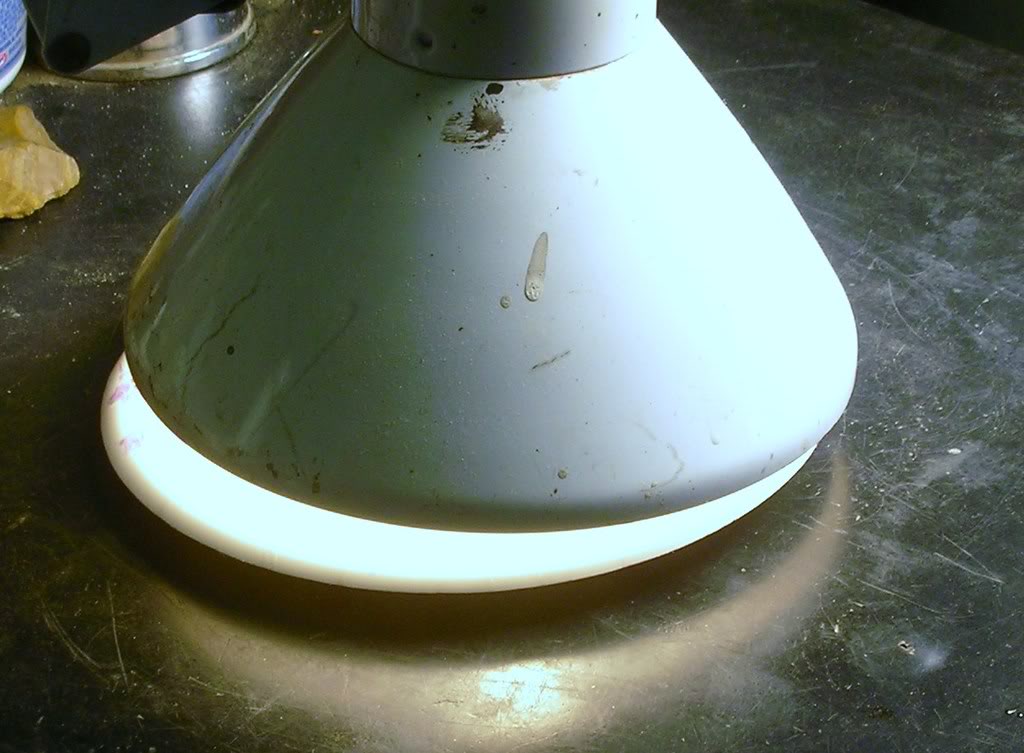
2. Place the piece under a work light with a 100 watt bulb. Lower the light as close as you can without touching the stone. This will be your heat source through all of the steps. Leave it there for 1 or 2 hours to evaporate any moisture in the fracture.
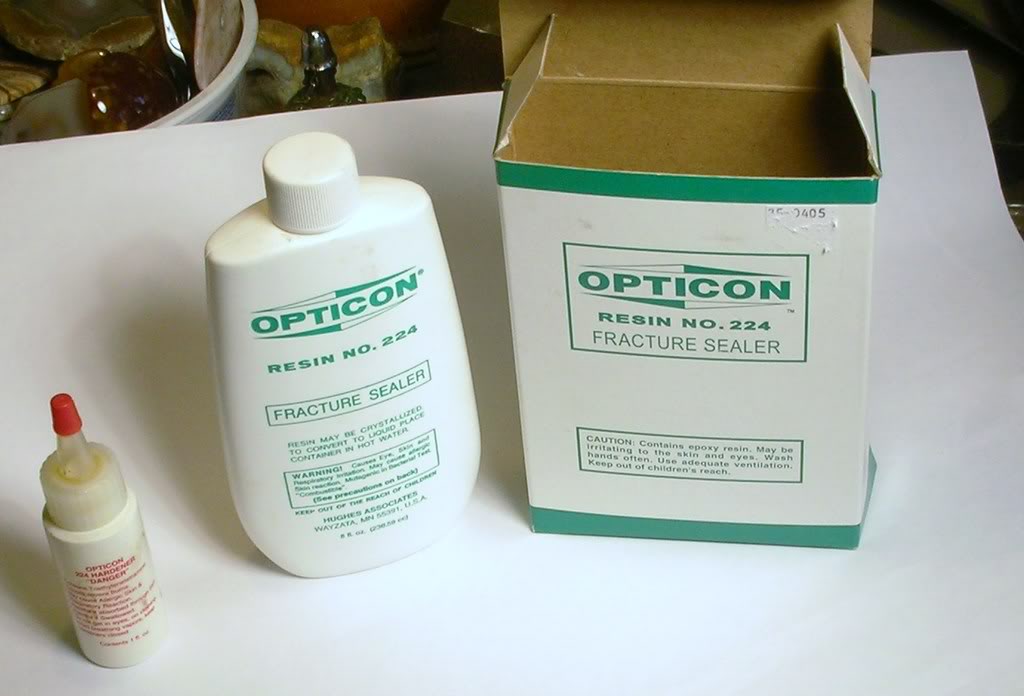
3. Here are the components of the Opticon. A large bottle of resin and a small one of hardener.
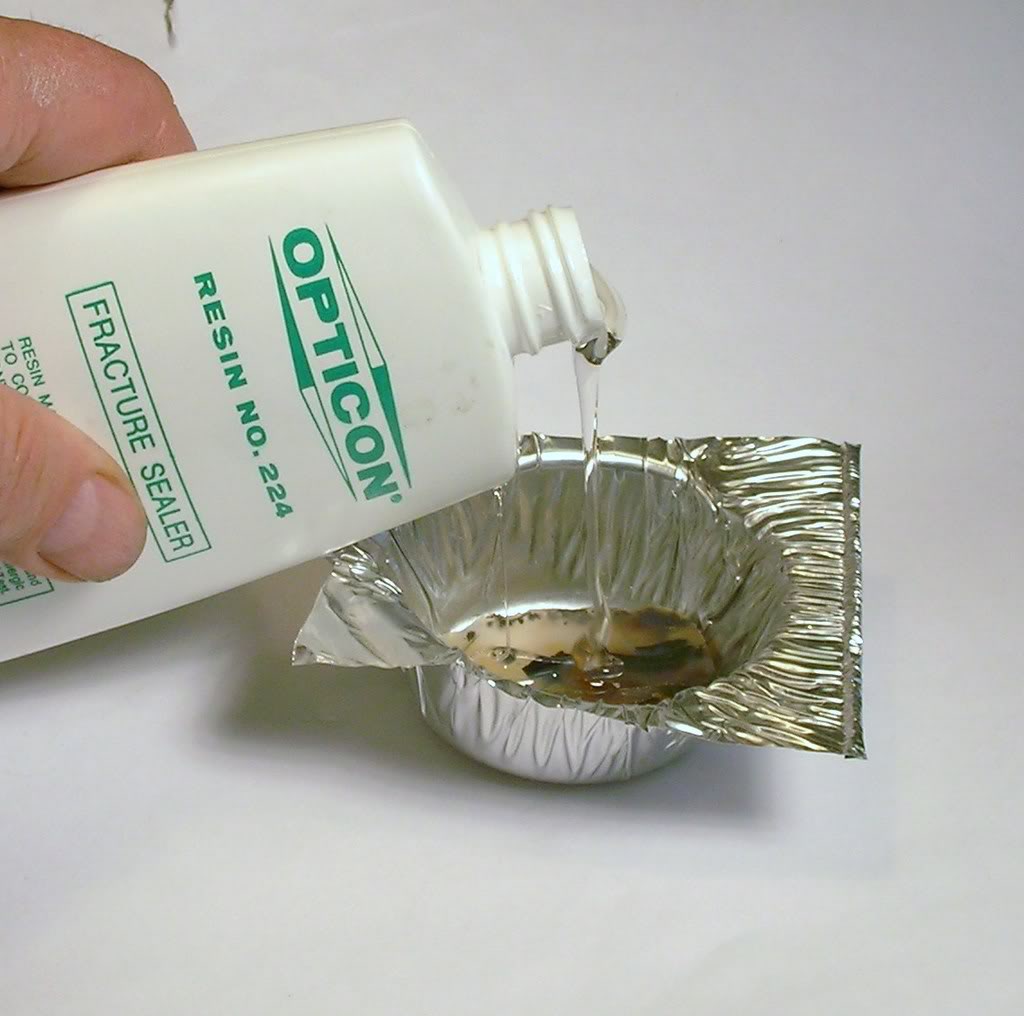
4. Obtain an aluminum muffin pan and cut out one of the wells. Shape a small groove to use for pouring the resin.

5. Place the now very hot stone in the muffin pan and add enough Opticon resin to cover it.

6. Place the muffin pan under the light and lower it to just above the surface of the Opticon.
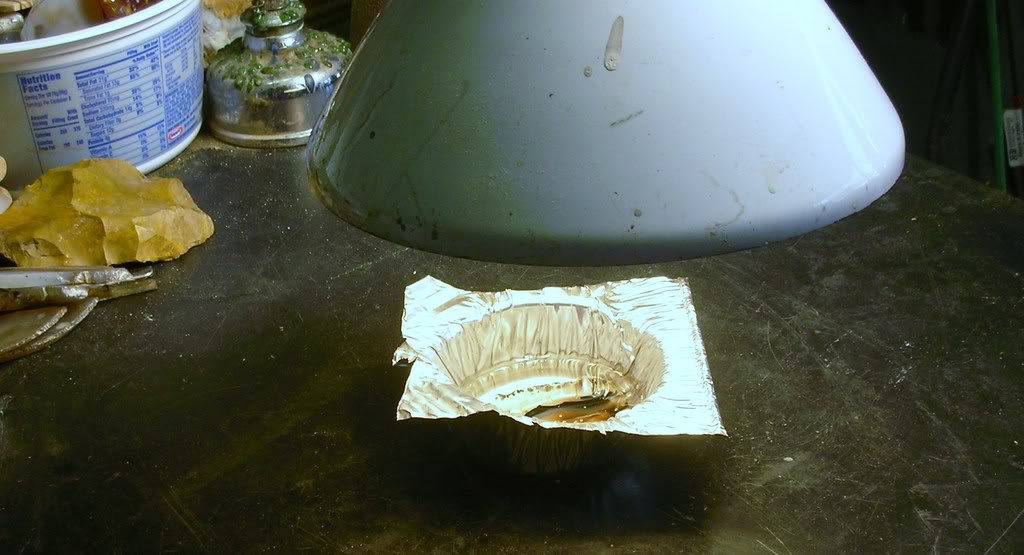
7. Leave the pan under the light for 3 or 4 hours. Do this in a well ventilated place. The heated Opticon can get rather smelly because it gets quite hot. I do the process in the garage.
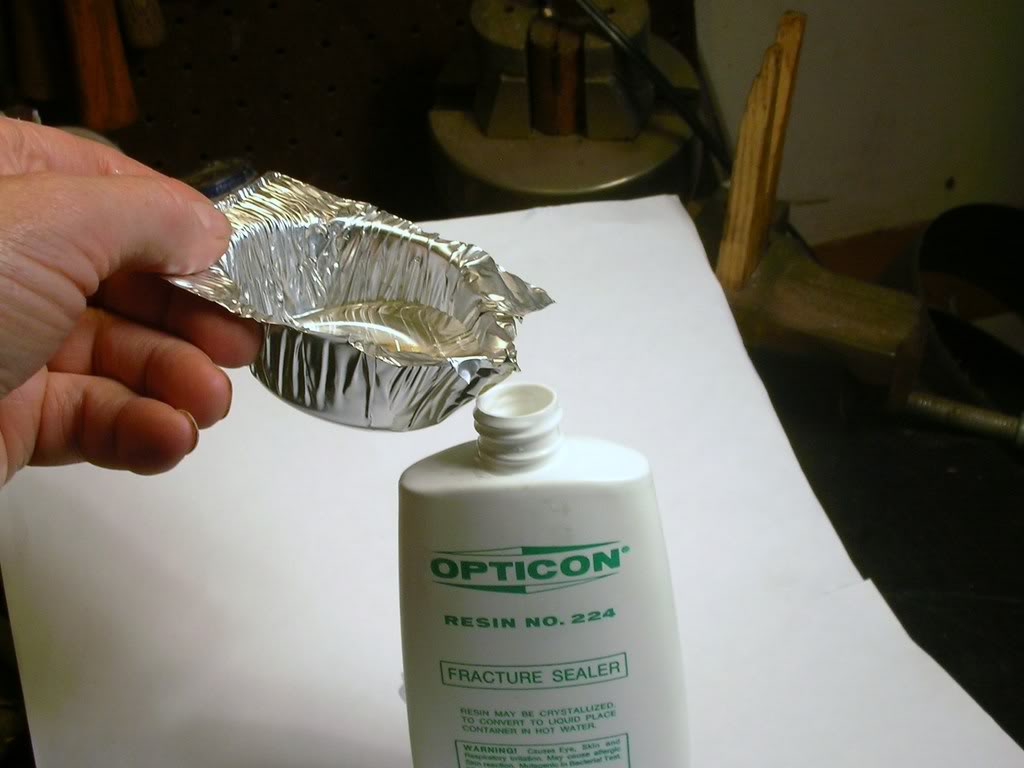
8. At the end of the 4 hours, carefully ( its really hot and runny!) pour all but 1 tablespoon of the resin back into the resin bottle.
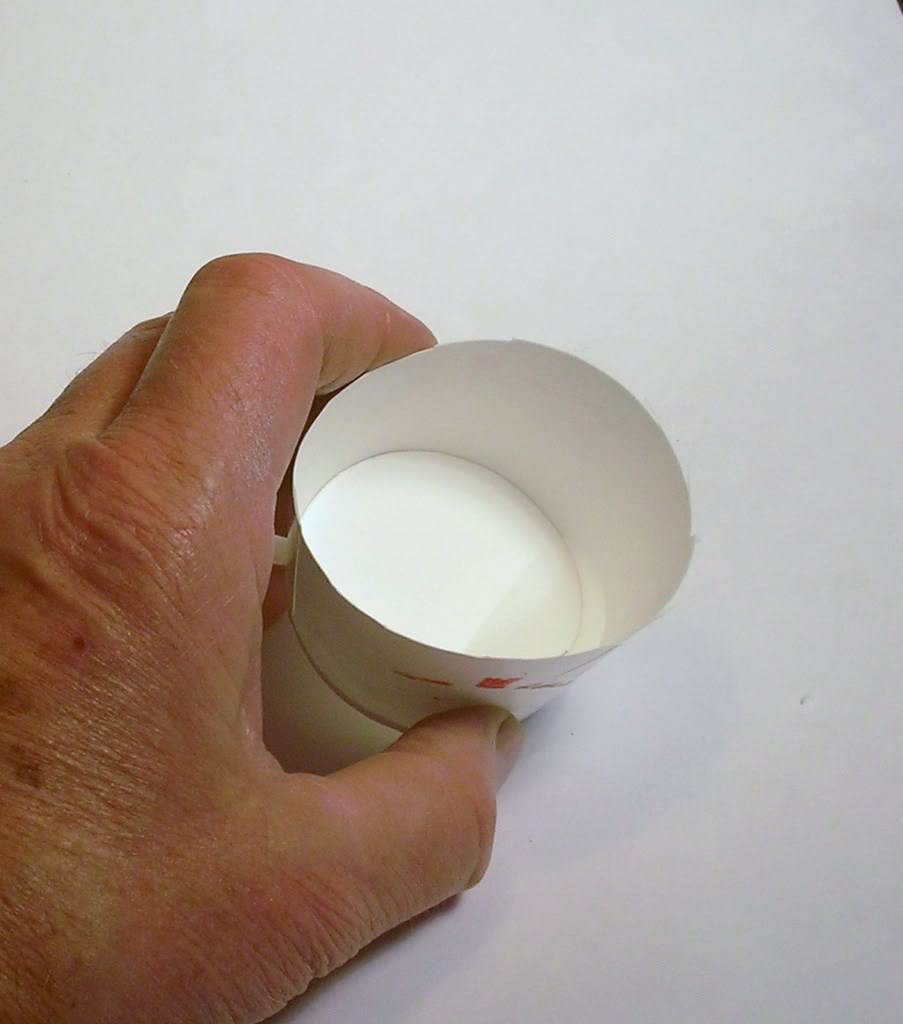
9. Pour the remainder of the hot resin into a small paper cup.
10. Add hardener to the cup at a ratio of 1 part hardener to 10 parts resin (approximately).
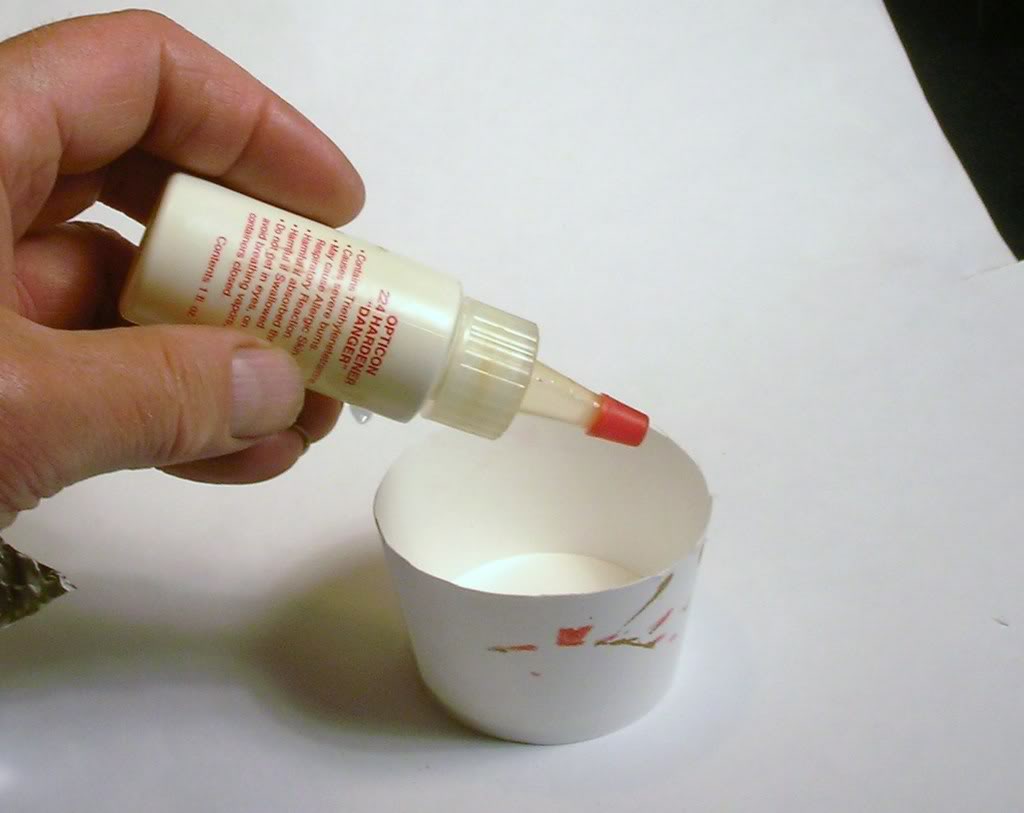
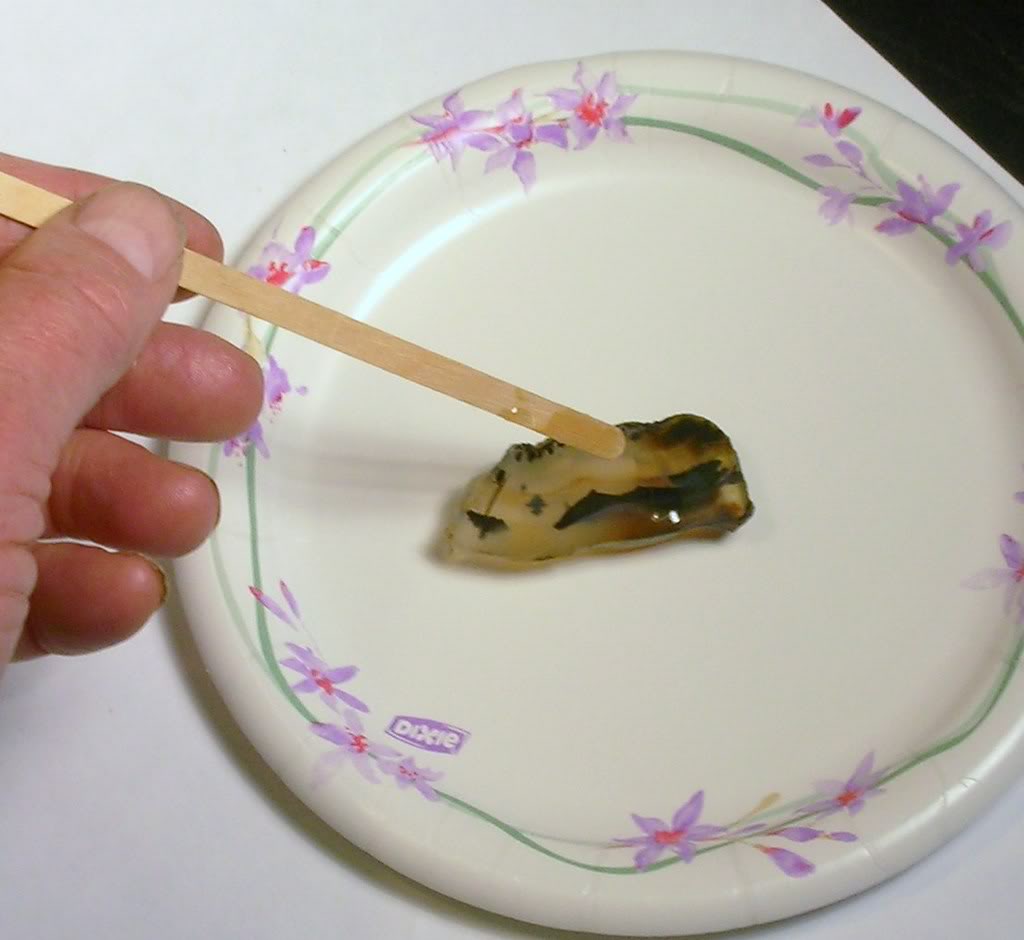
11. Mix the resin/hardener with a wood stick.

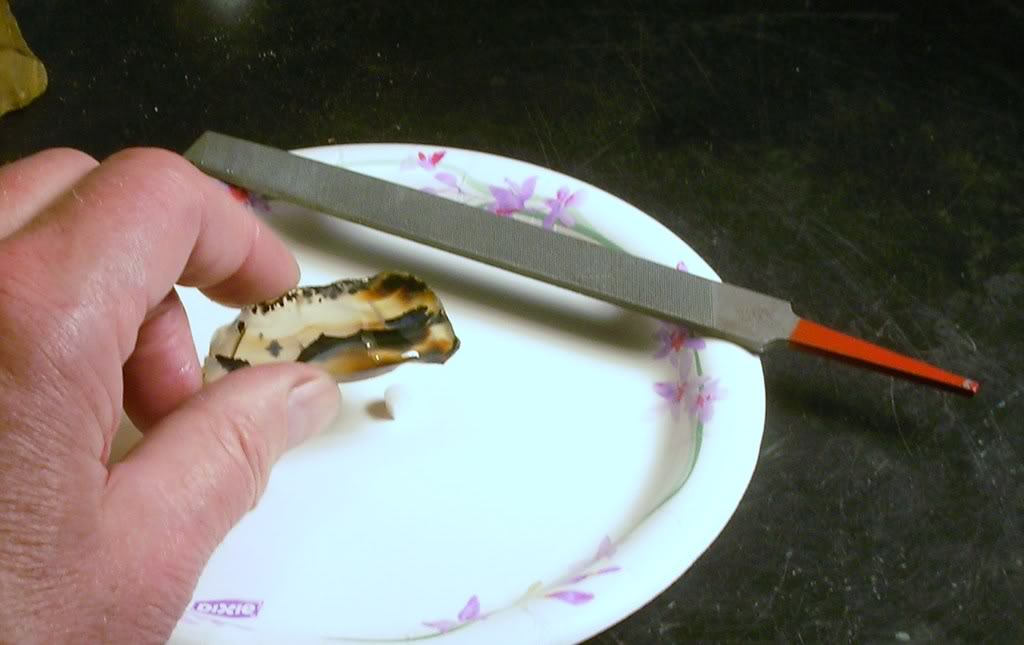
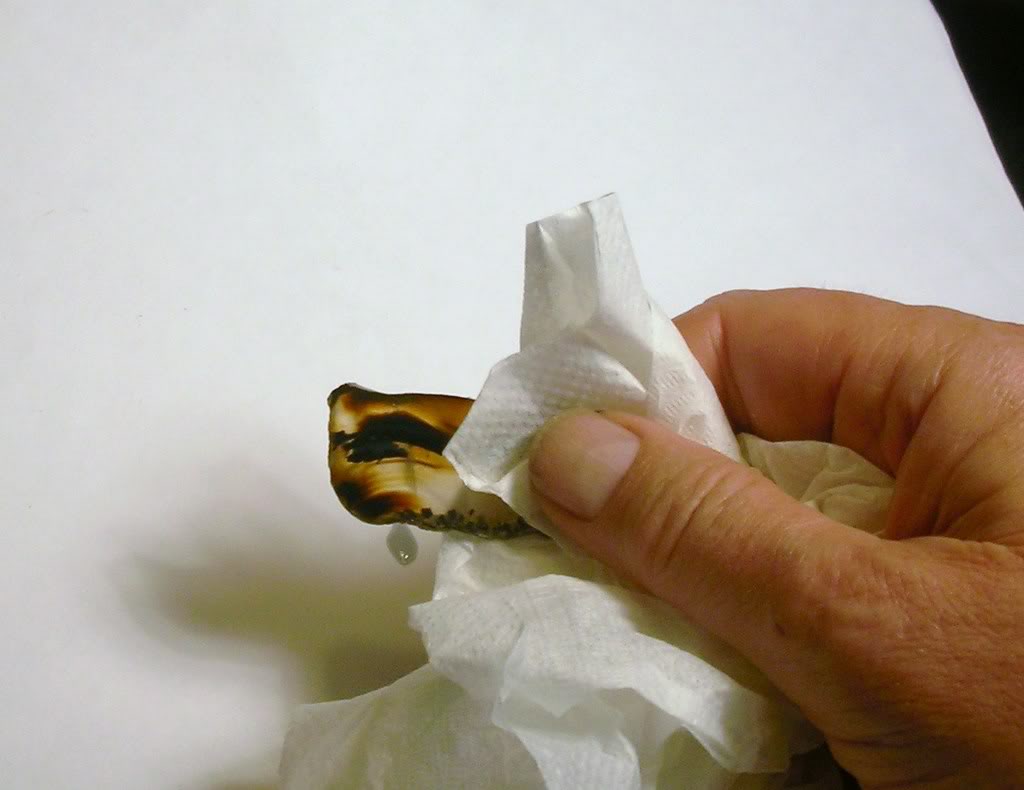
12. Wipe the excess resin from the still hot slab or cab. Do a thorough job so that you don’t have to remove any hardened resin later.
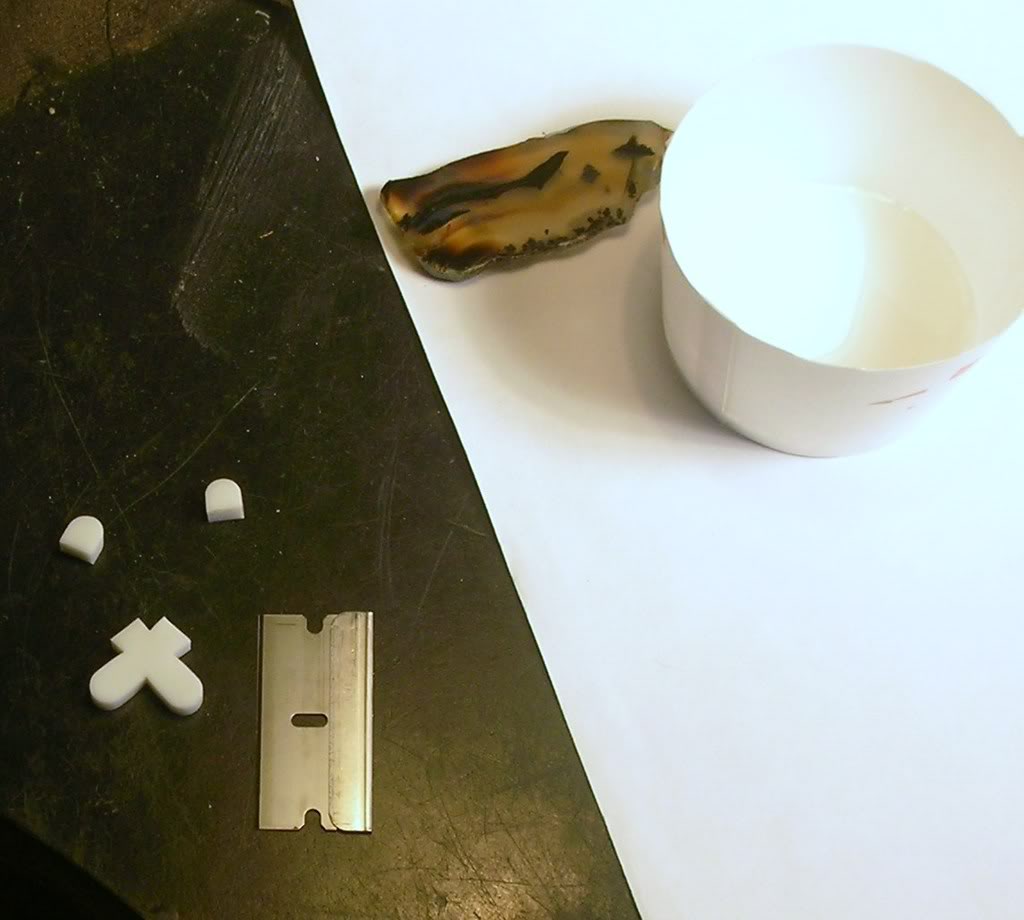
13. Cut some pieces from a plastic tile spacer and place them in a small paper plate.
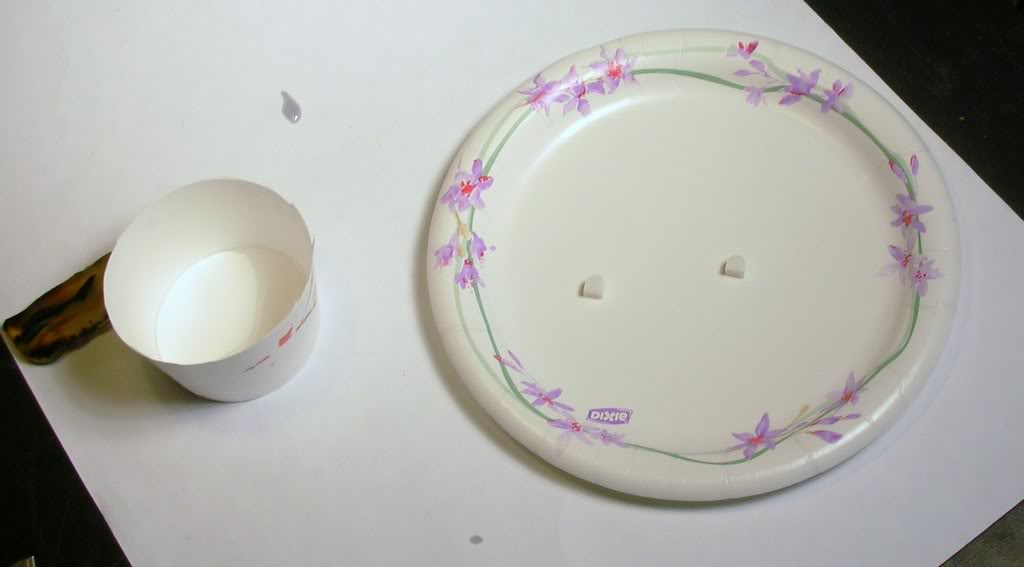
14. Place the slab or cab on the spacers in the plate and smear a narrow line of the resin/hardener on the line of the fracture. Use just enough to cover the fracture. Add some on the back if the fracture goes all the way through the slab or cab.
15. Place the plate and slab or cab under the light as before. Keep the light close to the piece.
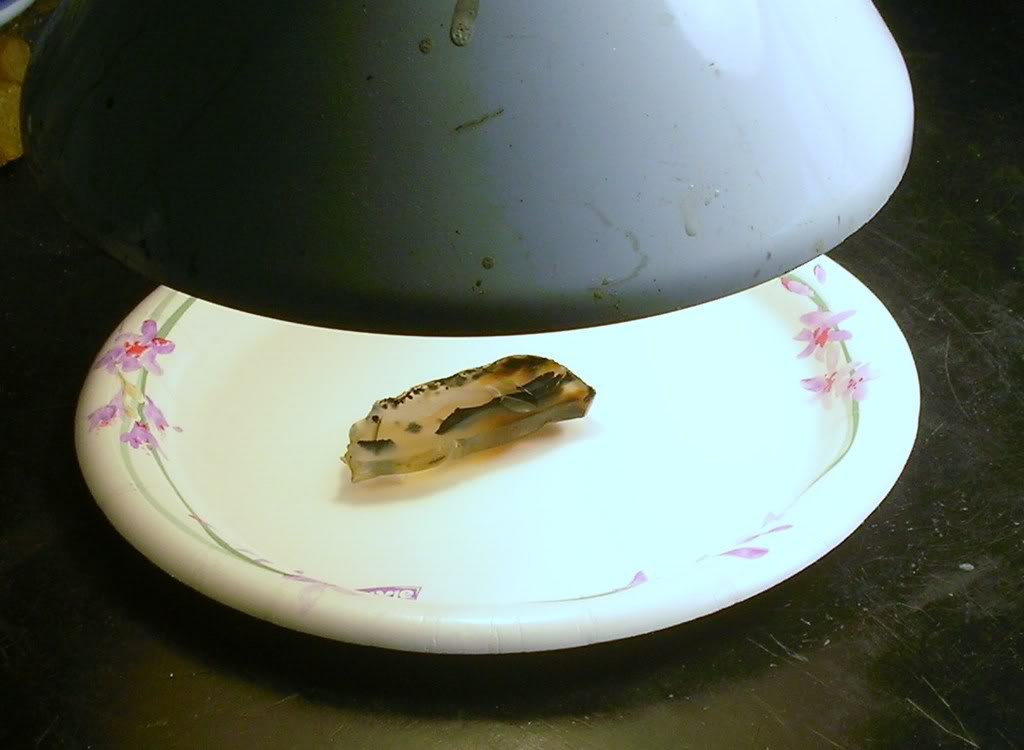
16. After 2 hours turn the light off and let the piece cool and set for 2 more hours. At this time the resin should be set very hard.
17. Remove the excess resin with a sharp file and razor blade. Clean up any remaining resin with acetone and enjoy the results.